
Kit
Most of the kit need to start triathlon is non-specialist and generally available. It is not necessary to invest a lot of money initially in order to take part. There are one or two items of more specialist equipment, specific to the sport, which you may wish to have as you progress.

Clothing/Kit Update (September 2018)
Please note we are in the process of redesigning the One Life Branding. This includes all items of kit. The new brand and kit will be launched later in the autumn and the new kit should be available to purchase in time for Christmas.
Trisuit
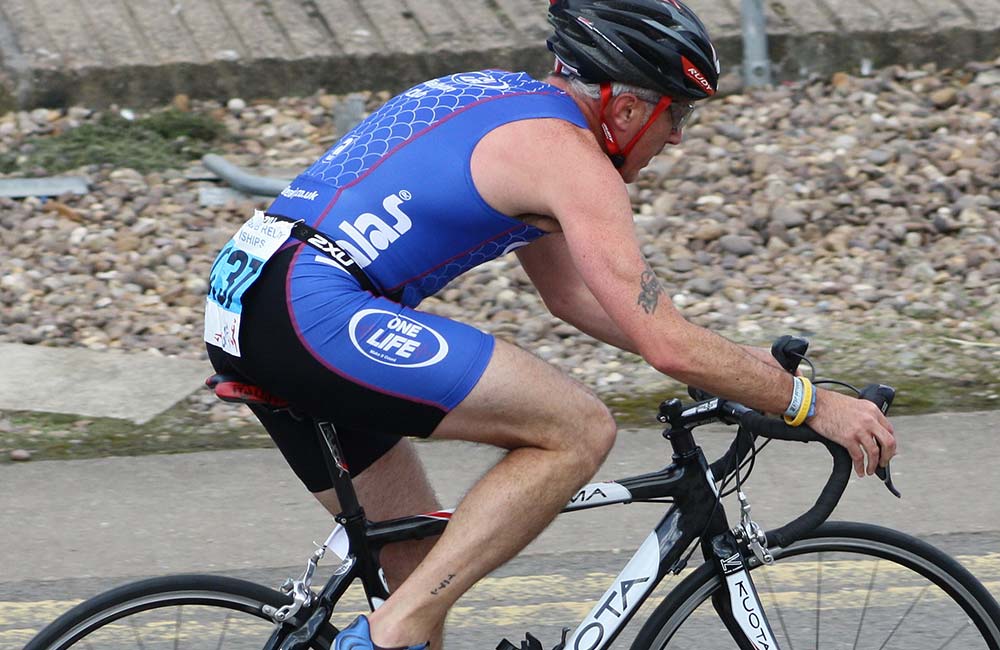
A trisuit is an all-in-one set of cycling shorts and top joined together, which can be used for the swim phase of a competition and also for the bike and run, eliminating the need to change clothes or put on an additional T-shirt during transition. Trisuits are not usually worn for training (except specific sessions), only for competitions. When juniors first join the Club it is not essential to have a trisuit as they can easily compete in their swimming costume, putting on a T-shirt for the cycle and run phase. However, as they progress in the sport, they may wish to have a trisuit in order to speed up their transitions.
Number belt
A stretchy belt to which a race number can be attached during competitions, and is worn with a trisuit. Again, this is not essential for younger juniors as their number can be pinned to their T-shirt.
Bike
As a new member you may notice both adults and the older juniors using road/racing bikes. However, most children’s competitions are held on grass and the average child’s general-purpose bike is perfectly adequate – a road/racing bike is not necessary until such time as your child progresses or shows particular enthusiasm and dedication to the sport.
Triathlon Kit Checklist
Pre-race / Swim
Goggles (& a spare pair)
Swim Hat (if not provided by race)
Nose clip/ear plugs (if required)
Wetsuit (if open water)
Neoprene hat (if cold open water swim)
Body glide/baby oil (lubricant to help get into wetsuit)
Plastic bags (to put over hands/feet to make it easier to get into wetsuit)
Talcum powder to sprinkle in bike & running shoes to aid entry
Flip flops (something to get you to race start that does not need to be in transition)
Drink (for pre-race)
Gels (for pre-race)
Transition 1 / Bike
Towel
Number, number belt, safety pins
Bike helmet
Glasses (for safety and if sunny)
Bike Shoes
Socks (if required)
Elastic bands (to support shoes if planning to leave clipped in)
Bike
Foot pump (to fully inflate tyres pre-race)
Spare inner tube/puncture repair kit (amazing how many tyres are burst in transition)
Tyre levers, alun keys, wrench set/tools
Clothing layers for cold weather (optional)
Clothing layers for wet weather (optional)
Drink
Gels
Energy Bars/Food
Transition 2 / Run
Towel
Running Shoes (with lace-locks or similar)
Socks (if required)
Hat (for protection from sun or rain)
Shades (if sunny)
Clothing layers for cold weather (optional)
Clothing layers for wet weather (optional)
Fuel belt
Drink
Gels
Bike Check
Tyres and Wheels
Before you get on your bike, check your tyres to make sure they are properly inflated. Take a quick look all the way around for places where the rubber might be cracked, gouged or worn.
Also, check the nuts or quick release mechanisms that hold your wheels in place. Verify that your wheels are securely fastened so they don’t come out while riding. You don’t really want to play stuntman, and fly over the handlebars, right?
Brakes
Squeeze your brake levers to make sure that they apply enough pressure to stop your bike and that you don’t have any problems with fraying or stretched cables.
Also eyeball the brake pads in the front and back to be sure they are hitting only the rims and not the tyres. If your brake pads are squeezing the tyres when applied, not only can it wear or damage your sidewalls, but can also result in you being bucked over the handlebars, offering yet another way to play Evel Knievel, because rubber hitting rubber grips very well. You only want the brake pads on the rims, because that allows a gentler, more consistent stop.
Seat Post and Handle Bar Stem
Next, check to make sure that your handle bar is set at the right height, that the stem is fastened tightly and that your seat is set at the correct height.
You want to be sure that both are secure, as there are fewer things more exciting (and not in a good way) than realising that you can’t control your bike as you go zipping down the street because the handlebars are loose in your hands.
Helmet
As you get ready to put on your helmet, look it over once to make sure there are no cracks on the outer shell or inner surface.
Check too, that the straps are adjusted so that the helmet fits snugly, and sits down on your forehead, hitting somewhere above your eyebrows. A common mistake is to wear a helmet that rides up too high, which won’t protect your forehead in the event of a wipeout.
Chain and Gears
The last thing to check is that your chain turns cleanly through your front and rear sprockets and doesn’t rub against the derailleurs. You can do this as you pedal when you first set off. At the same time, quickly run your bike through its range of gears to make sure there are no problems with rough shifting, chain slippage etc., and that the drive train is free from excessive grime and doesn’t need lubrication. Make sure you are in an appropriate gear to exit T1 and start the bike section!
